How to add live chat software part 6

This article is a summary of parts 1 to 5 in this series, describing the easy process of how to set up live chat on website.
Adding live software is easy. You do not require a team of qualified and certified technical staff in-house and implementation only requires following a simple, step-by-step process, with the majority done by the vendor.
In parts 1 to 5, we went into detail about each step in the process of adding live chat software. In part 6, we summarise everything we’ve learned so far in a single, digestible post. Read on to learn more.
Choose Your Provider
The first step is to choose your vendor – the company that will supply you with live chat software. Before entering into partnership, consider:
- The level of support that the company offers and how quickly you can get assistance should you require it
- Where the company handles your data – the UK is ideal because of strict data protection regulations
- The degree of interface customisation that the vendor permits. Ideally, you want a live chat solution bespoke to your enterprise’s needs
- The level of software futureproofing and the degree to which it can adapt to the changing needs of customers
Providers differ markedly in what they are able to offer. However, technical excellence plus support is a winning combination.
Start Trial
The next step is to start a free trial. This way, you can probe the benefits of live chat software for your firm without having to commit. You can then see whether it offers you value and your likely return. If it is not providing you with tangible benefits, you can cancel it before the trial period ends and get your money back.
Customise visitor interface (if required)
In some cases, it may be necessary to customise the visitor interface to tailor it more closely to the needs of your business. Live chat that reflects the mission, style and operational structure of your brand can be a substantially more powerful communication tool. Proper branding makes people feel more connected to your service and engaged when speaking with representatives.
Add user profiles
After customisation, the next step is to add user profiles. These reflect the roles of the employees using the system – ideal for firms with multiple departments.
Profiles are helpful because they restrict access on a need-to-know-basis. Employees can only use data and administrative functions that they strictly require for work. The result? More secure data, better customer protection, and reduced liability.
Vendors include use profile options in their packages. Administrators set permissions during implementation and can then tweak those using available tools if operational requirements change.
Configure account with predefined replies, end categories, and auto navigation links
The next step is to configure your account to make it most useful to your business.
- Predefined replies: Predefined replies, also known as “canned responses” are pre-written phrases and sentences that provide reps with the response that they need when a visitor contacts them. For instance, the predefined response to the question, “what is your shipping time?” might be “3-5 working days, excluding the Christmas period.”
- End categories: End categories are tags that reps can apply to the end of a conversation to identify both the reason and outcome of the chat. As the name implies, staff implement end category labelling at the end of the conversation. Each organisation is different, so categories can be customised to the needs of the firm.
- Auto navigation links: Auto navigation links are links that reps can use to navigate visitors to pages of interest during chat and can be stored in libraries, similar to predefined links.
Set up routing groups
Routing groups are a facility in Click4Assistance’s Experiences that allows companies to define departments and assign users to various teams. Distribution settings determine where conversations are routed and more than one representative can be assigned to each group.
The purpose of routing groups is to connect customers to the right team members. By adjusting distribution settings, each rep can fully leverage their expertise when chatting with clients, improving the first contact resolution rate.
Train staff
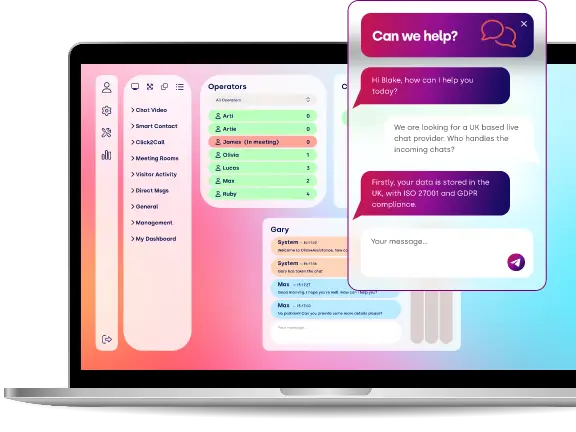
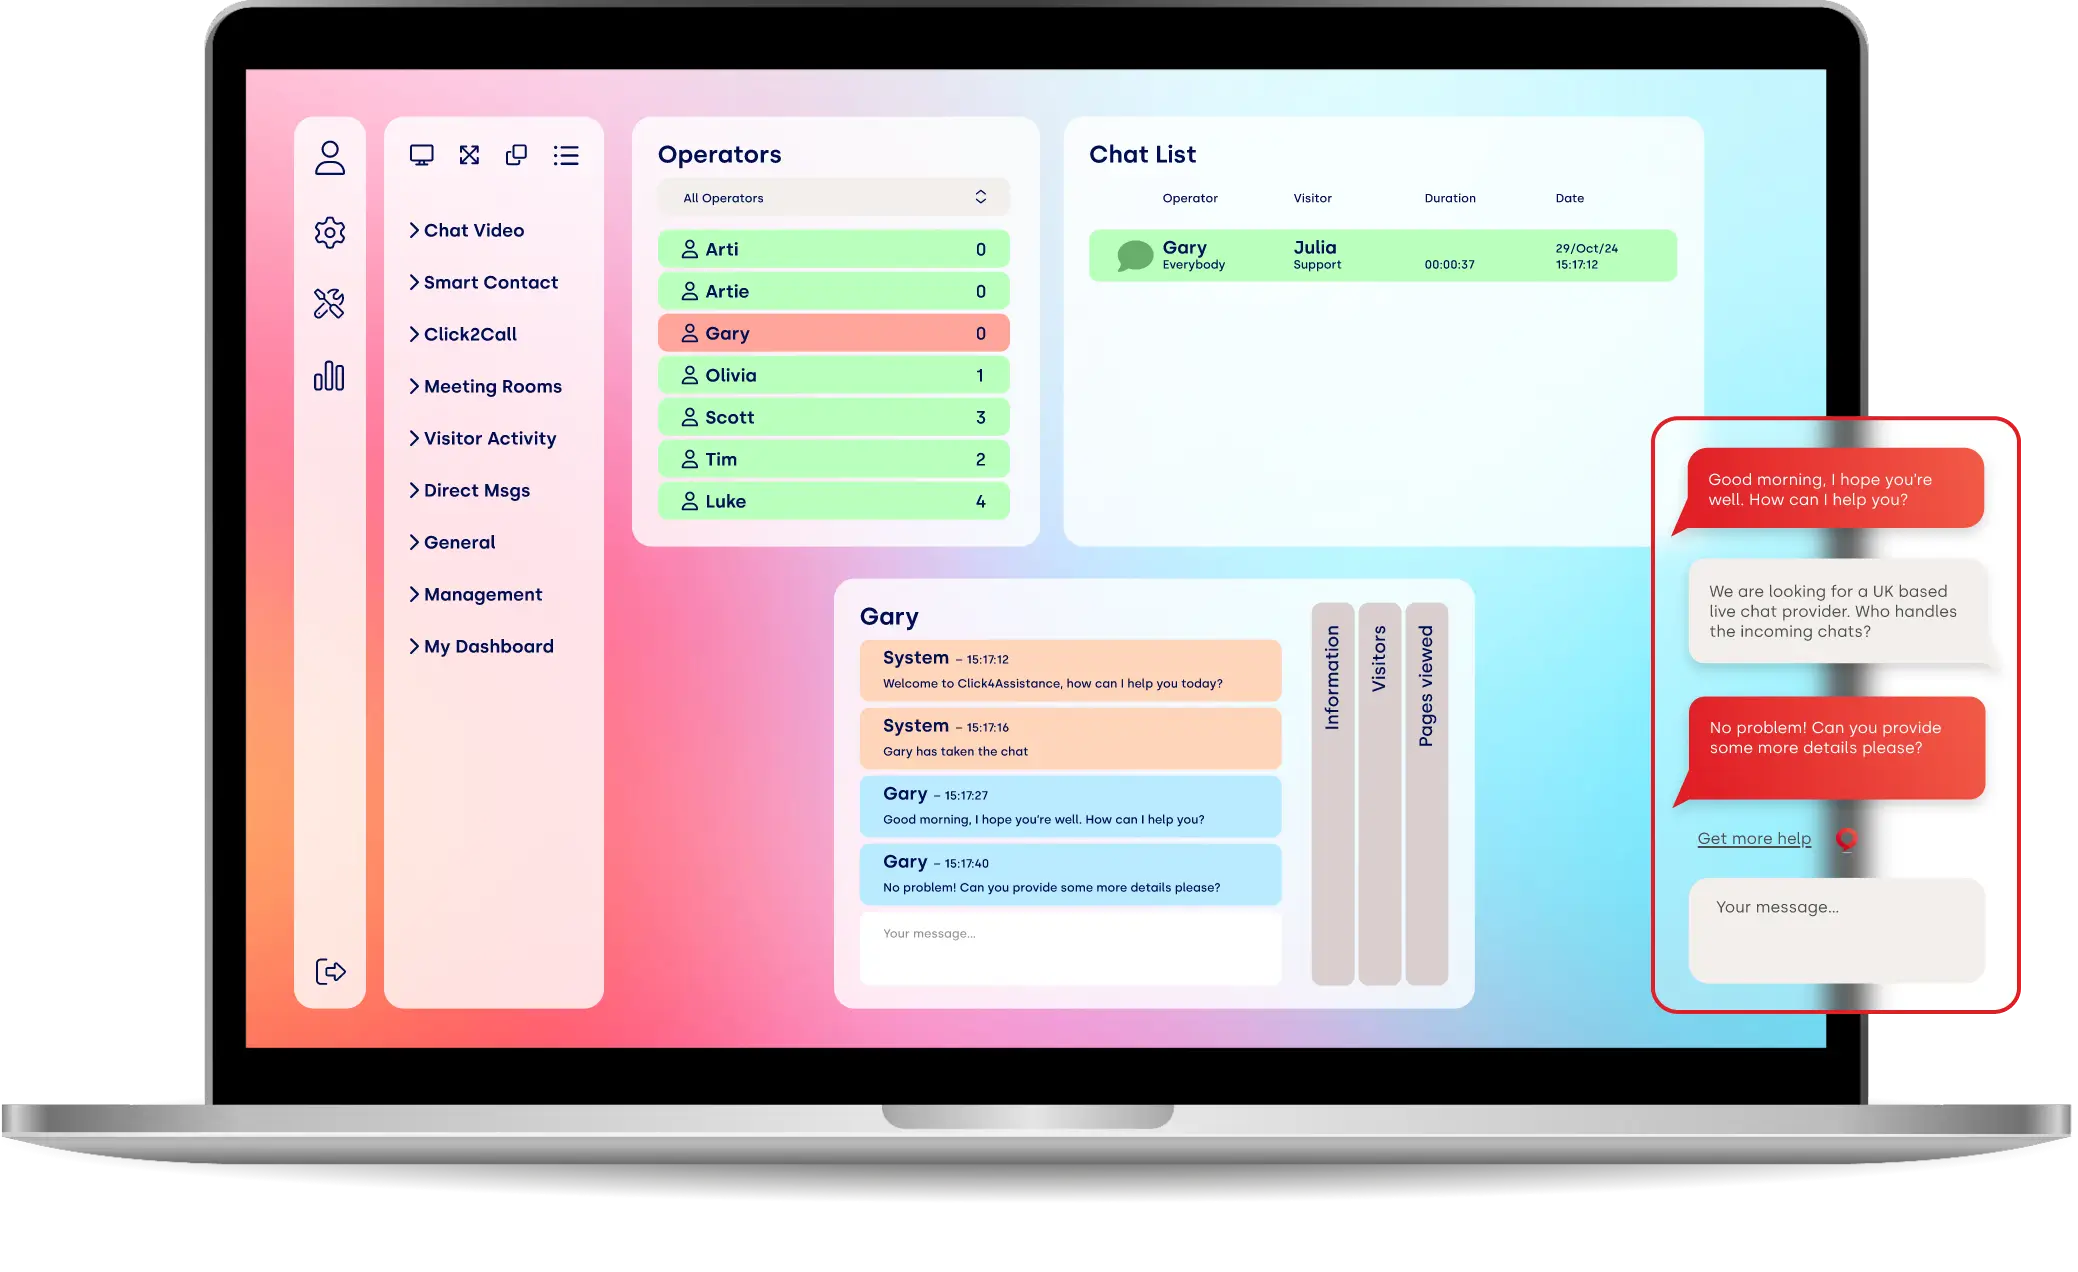
Once you have your live chat software up and running, the next phase is to train your staff to use the system. Click4Assistance’s solution comes with a configurable dashboard that makes it easy to organise the workspace and access all of the features of the program. With functionality at their fingertips, staff can get more done.
Primarily, members of your team will require training on live chat software. However, they will also require assistance with learning about the rest of the ecosystem.
Staff, for instance, can learn how to create email templates so that they match company branding, giving user’s confidence that they are involved in official communications.
Staff can also be trained on how to manage blocked visitors and prevent them from using communication channels in the future. Systems work on the basis of IP addresses, and bans last a duration set by the administering member of staff, both temporary and permanent.
Staff can also learn how to use restricted entries and hide obscene, undesirable or offensive words from displaying in chat. In Click4Assistance’s “Experiences,” disallowed entries can be hashed out (###).
Add script
Lastly, you’ll need to display a chat button on your website so that your users can easily interact with you. To do this, you need a script.
Don’t worry, it’s easy. First create an account with us. Then, to get a chat button, copy and paste within a common component between the <BODY>….</BODY> tags of your website.
To check that it has worked, go to your published site and click the chat button. It should be visible on the right-hand side at the bottom of the viewer window.
Wrap Up
Ultimately, adding live chat software requires following a simple, step-by-step process. All of the hard work has already been done for you. Primarily, it is a matter of configuration and customisation.
If you’re interested in live chat software setup and want to learn more, look out for our future blogs on advanced implementations.
