How To Add Online Chat Software
Adding online chat software to your website is easy with our simple to follow guide.
Create an account and add the script
To add online software to your website, you first need to set up an account. Once you have done this you can add a Chat Button to your website and start talking to your visitors.
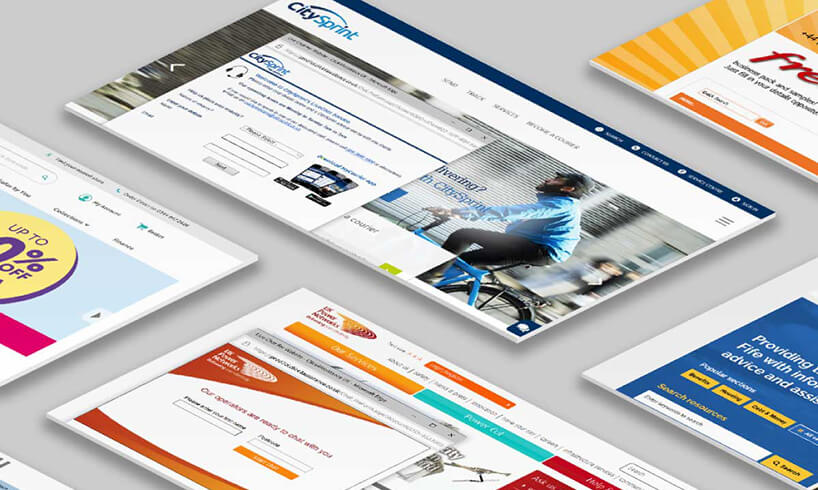
To get a Chat Button to show on your site you will need to locate the proper script. To make this easy for new users, we have set it to pop up in a window the first time you log into your account. All you need to do is copy the script and paste within a common component between the <BODY>….</BODY> tags of your website.
Check this has worked, by visiting your website and making sure the Chat Button is visible on the right-hand side, at the bottom. Remember that as soon as your Chat Button goes live, visitors will be able to contact your team, so make sure they are logged in and ready to go!
Also, there is no need to panic if you didn't grab the script the first time you logged into your Click4Assistance, as you can access the HTML script in the following manner. Just go to Tools, and find Chat. Select the Script button, and either copy or email it to yourself so you can use it when the time comes. Simple!
Set Up Users (and Permissions)
Once you have that chat button installed on your website, you can move on to setting up your users and granting them the proper permissions. To do this, you will need to navigate to My Account/Users. Then select go to the top left of your screen and click Add New.
A window will then open, allowing you to enter the relevant new user details, including name, email, and password. You can also choose the User Type, which controls the access and permission they will gain. Be sure to click Save to record your changes.
Once you have saved, a second window will open, which will provide you with the chance to change the following:
- Add photos - upload a new image or select an existing one from the carousel.
- Configure the user settings - Enable emails to be sent from the users' personal addresses. Just enter the diesel and click Save.
- Assign routing groups - Choose a group folder and then click Add User To Group.
Next, to add a new user type, visit My Account/User Types. Then navigate to the top left of the screen and click Add New to open a window that will allow you to select Admin (full access) or CSR (limited access). Once you have chosen a user type, click Save.
After saving, a second window will appear that provides you with a chance to edit the following:
- Modules - Define which modules on the navigation bar are accessible.
- Permissions - configure settings by Tick/ Unticking boxes.
- Alerts - set audio alerts, visual alerts, or both. Change the sound, and if it is repeated.
- Security - Restrict IP access and log-in times.
- Other Settings - Set timezone
- Users Assigned - Use this function to view which users are assigned to each type.
Be sure to select Save to record any changes.
Login and handle chats
After setting up your users and permissions it's time for the last stage of the process - logging in and handling chats. One of the most important things to be aware of here are the different statuses that relate to whether your operators are logged in or not.
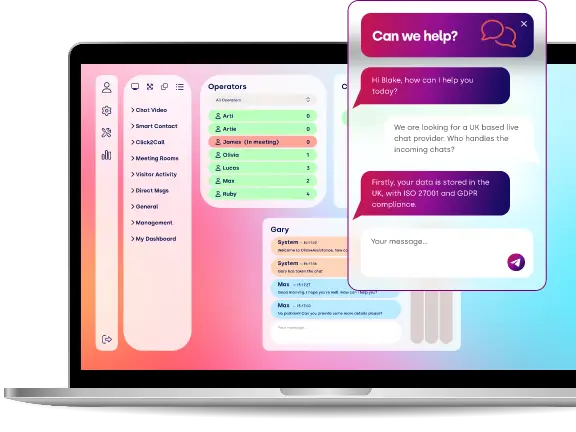
For example, to receive and respond to chats from your site, a minimum of one operator must be logged in and set to Available/Online. If an operator is Available/Online, the green heartbeat in the top left-hand corner of the screen will show. This means they can take chats, and the Chat Button will be visible on your website.
However, an operator is Unavailable/Offline, they are logged into the Click4Assistance software but can't take chats. Then the heart line in the top left corner will show as red.
Top Tip: Click the heart line bar to change from available to unavailable.
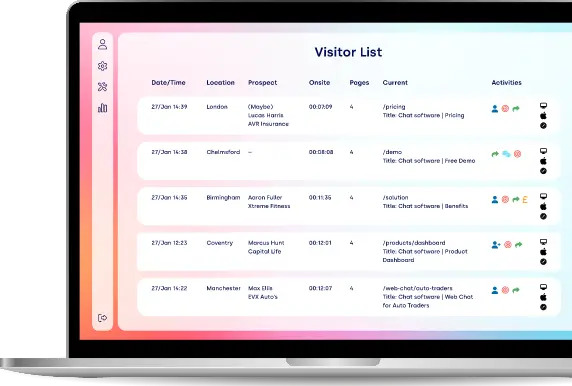
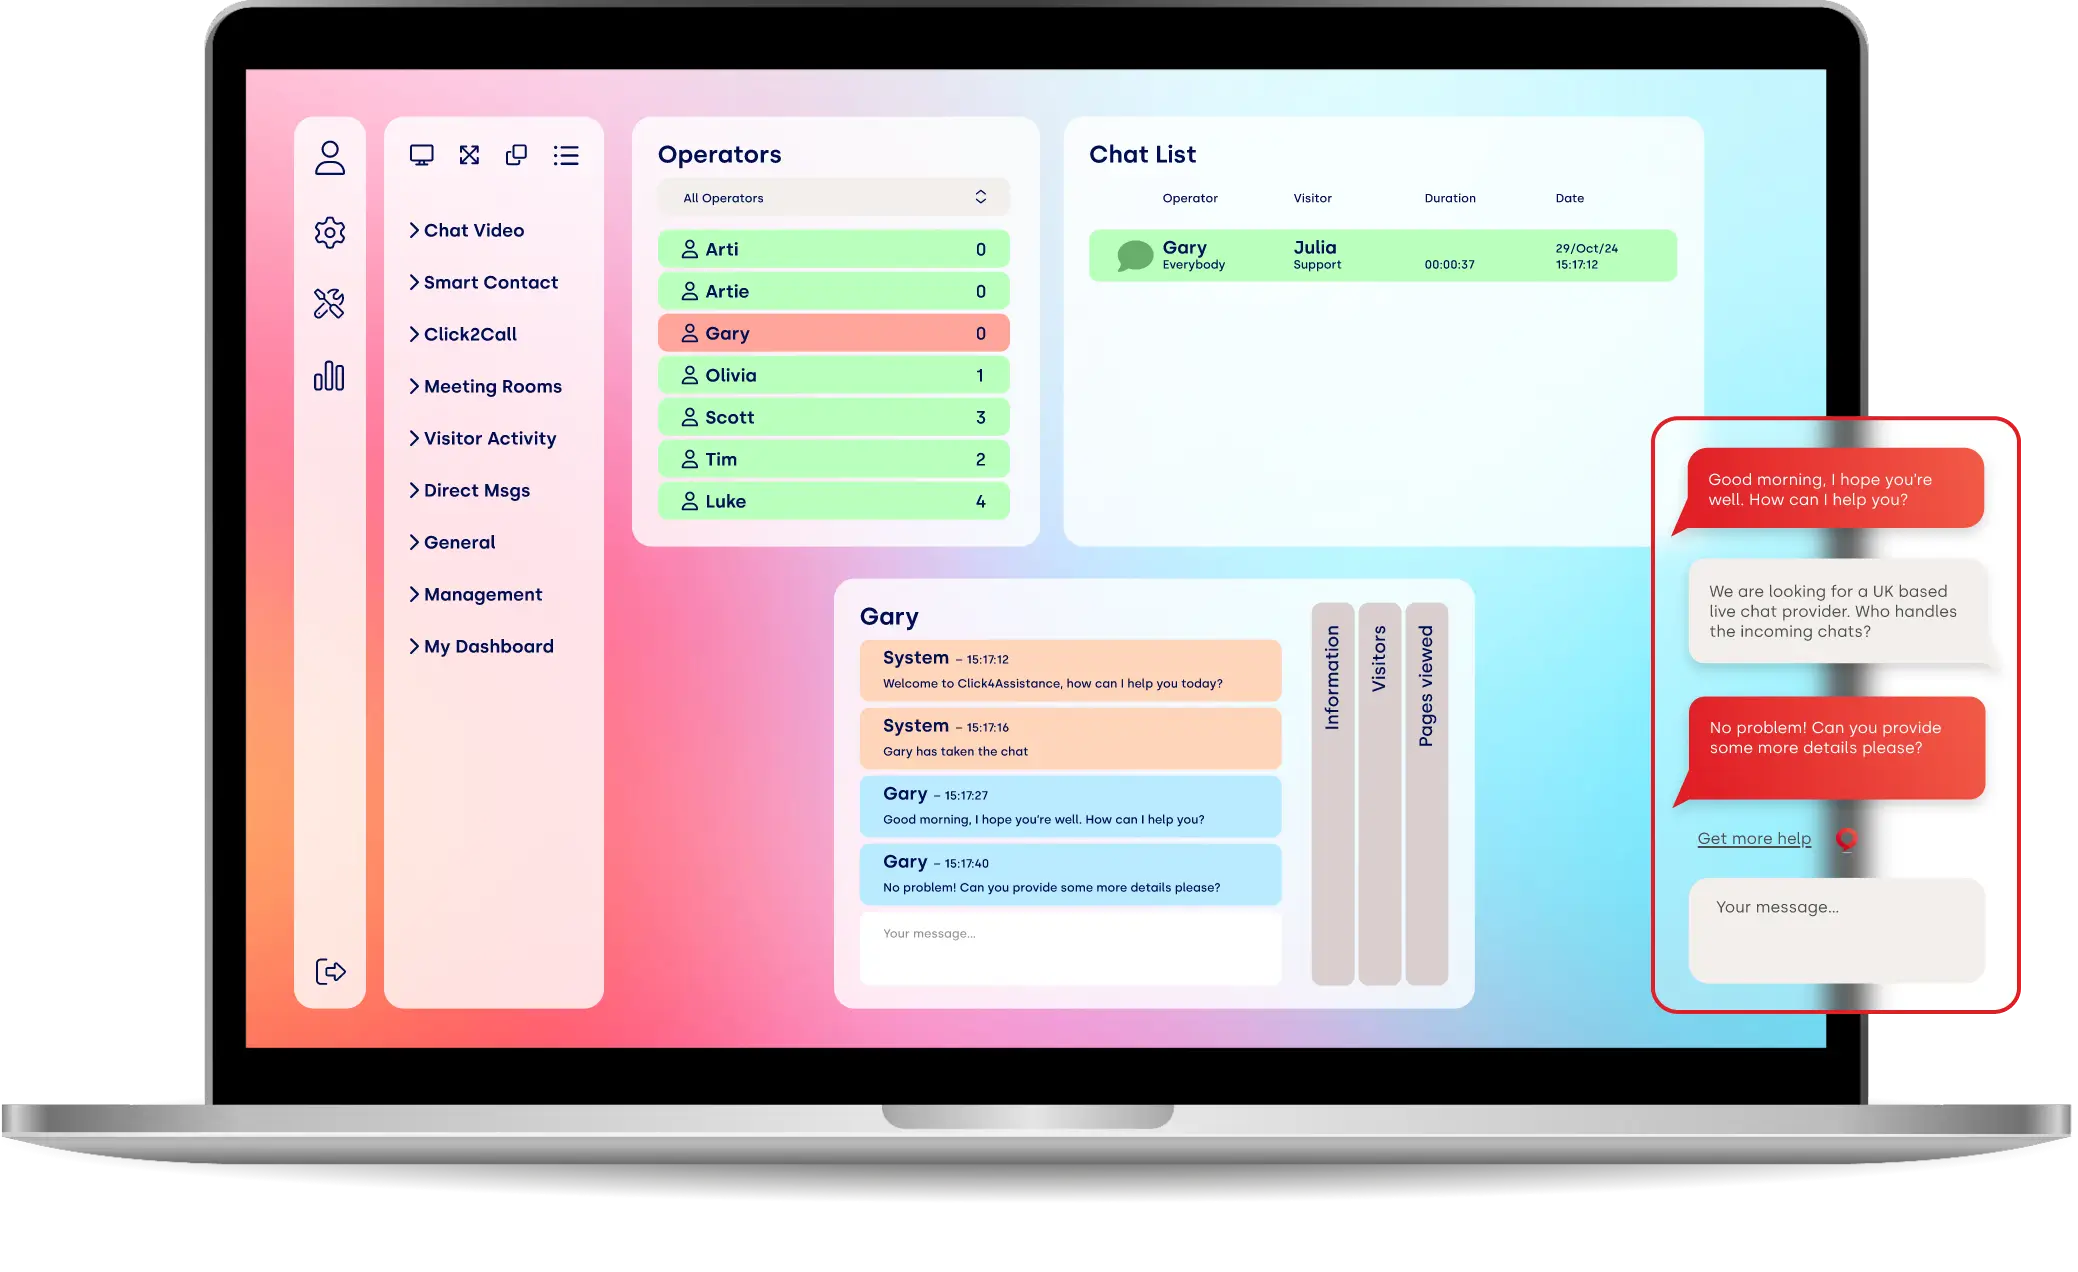
Finally, an operator is logged out once they click the Log Off button on the left-hand bottom of the screen. If all operators are logged out, the Chat Button will always be set to offline. If no operators are available, your Chat Button will be offline. When a visitor clicks an offline Chat Button, their details will be gathered for a callback and sent to your email address.When it comes to handling chats from site visitors, you will find all the tools you need to chat with visitors and monitor visitor activity on your website on the Dashboard. The default setting of the Dashboard includes the Chat List, Predefined Replies, and the Operator List displays, but you can edit this to suit your needs.
The Chat List is also an essential feature of the Click4Assistance Dashboard as it is where all incoming status and chats are shown. Be sure to pay attention to the color of the bubbles on the Chat List. A red chat bubble means the conversation has not been replied to, whereas green indicates a chat that is currently in progress. Chat bubbles will display as grey when the visitors leave or end the conversation. To interact with a chat, all you need to do is click it and choose Allocate, Take, or View.
Whereas the Replies List feature allows your operators to access and select a pre-composed reply, saving time. Just drag and drop the relevant one into the chat.
In contrast, the Operator List is a helpful overview of how many people are online dealing with chats. By accessing this list, you will be able to see how many conversations each operator has and whether they are currently online (green) or offline (red).
Final Thoughts
Congratulations, you have successfully added Click4Assistance online chat software to your website. Feel free to contact us at support@click4assistance.co.uk if you have any queries or questions. Our team will be only too happy to help you get the most from your Click4Assistance software.
