How To Put Live Chat On Website

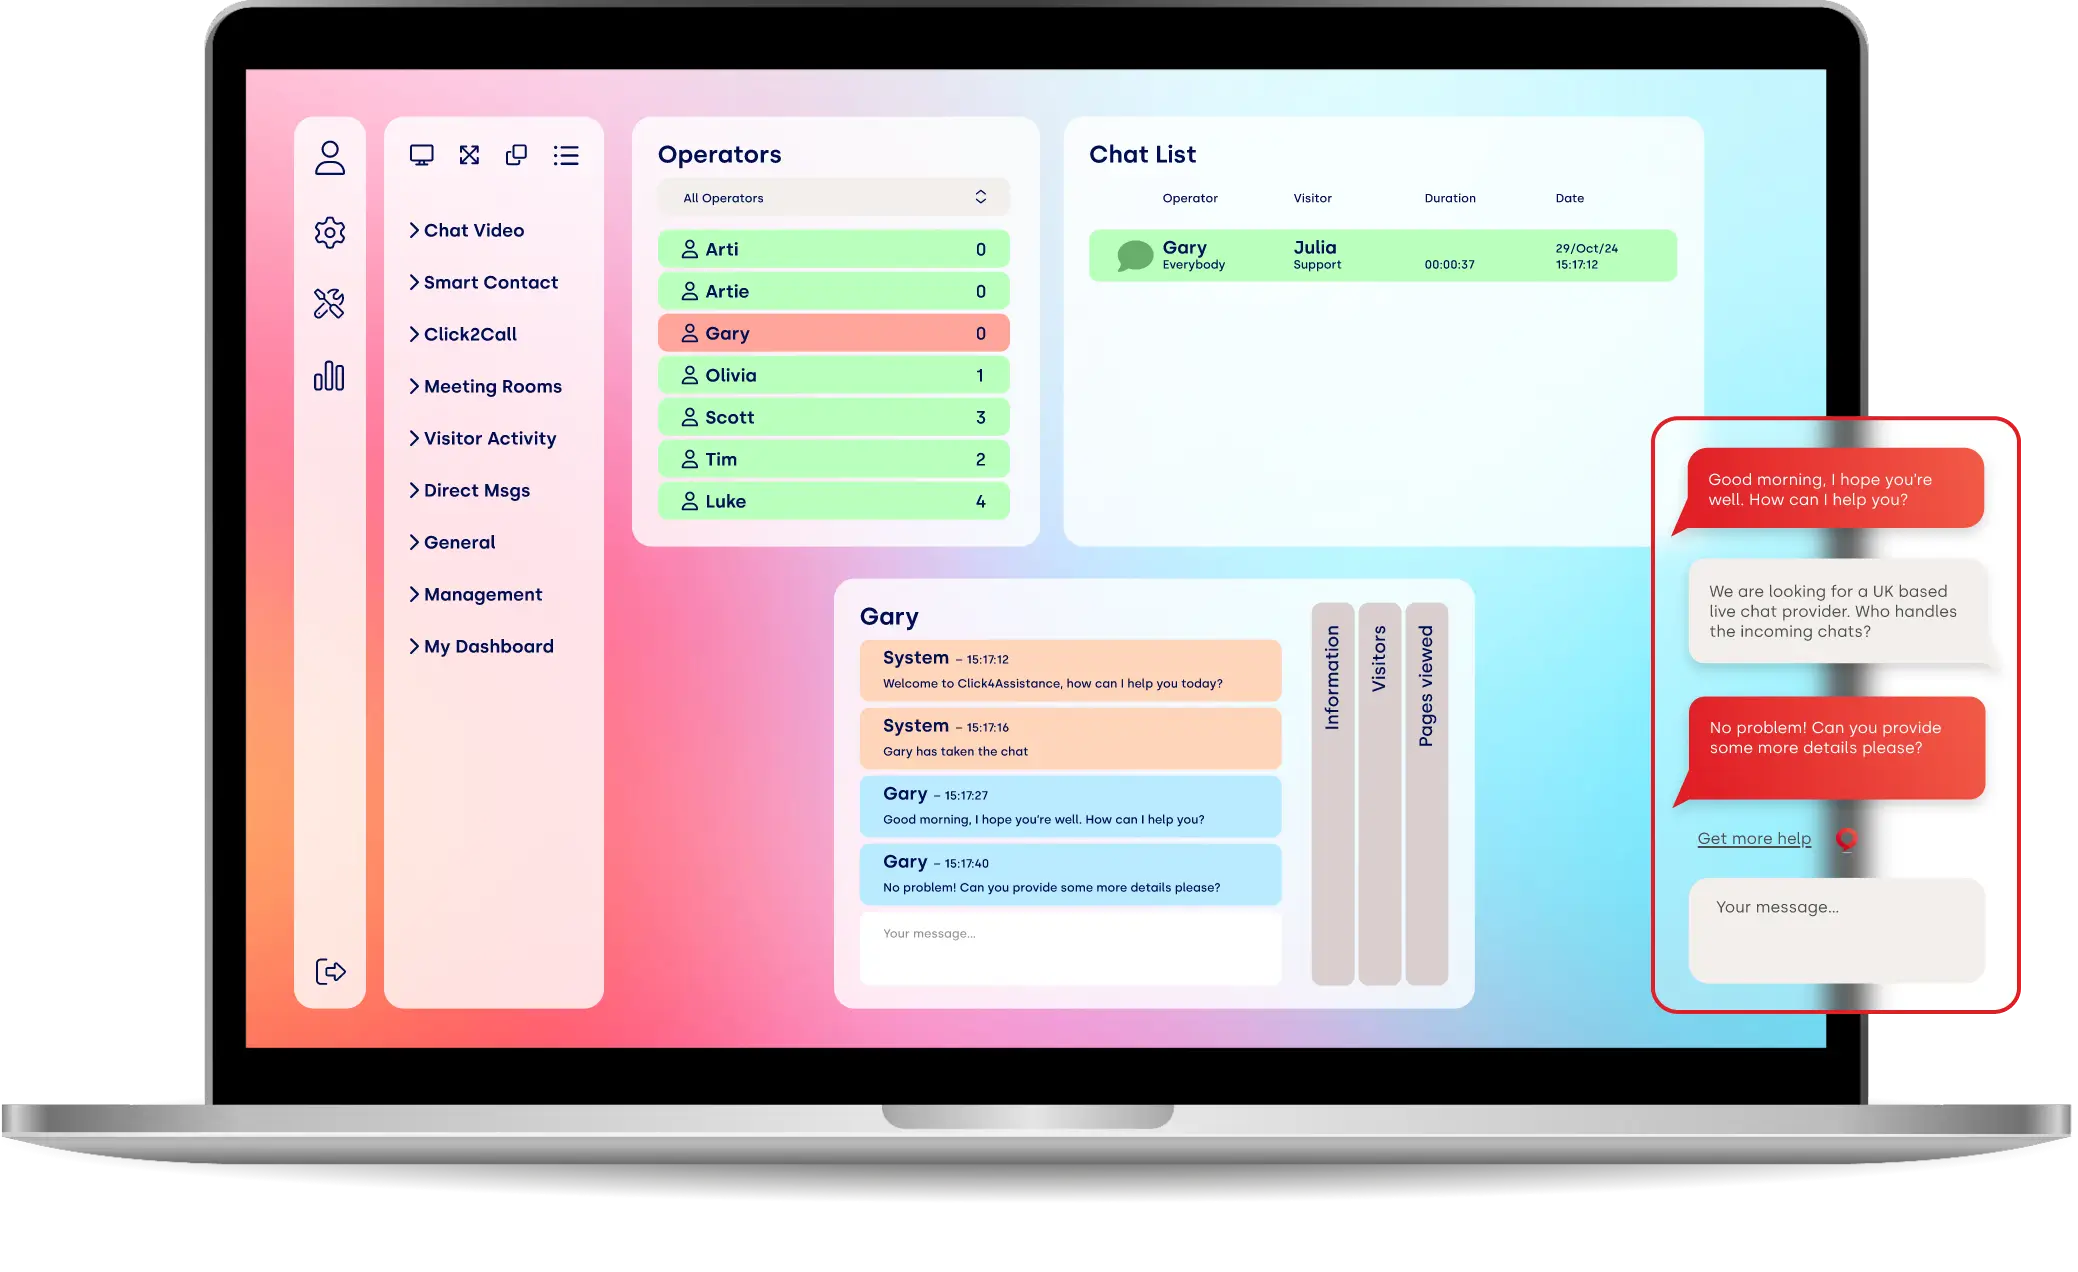
Want to know how to put live chat on your website? Explore our how-to guide using video tutorials to help you set up your Click4Assistance experience.
Putting live chat on your website is an effective way of improving communications for your business. It provides customers with a simple way to get in touch, enhancing their user experience and helping them enjoy positive interactions with your website.
Live chat benefits both small and large businesses, and the good news is that it’s easy to get started. Adding Click4Assistance’s Experience live chat software is a simple and fast process so that you can start receiving chats in no time.
Take a look at our quick guide to how to put live chat on a website with the help of our video tutorials and discover more about Click4Assitance.
What is a live chat software experience?
Before you put live chat on your website, it’s a good idea to explore what it’s all about and how it can be used by your business to improve its communications
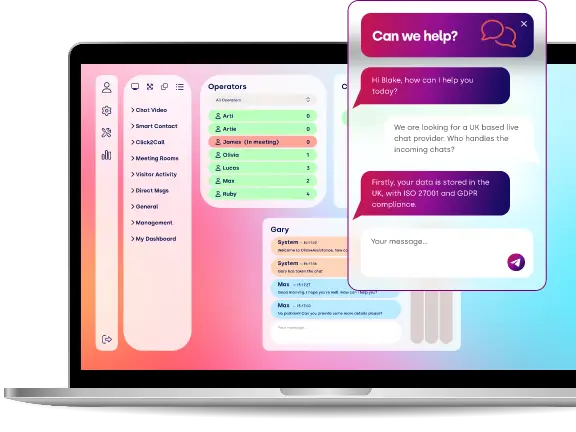
Our introductory video provides an overview of the Click4Assistance Experience, allowing you to explore the different tools and features and see what happens during the customer journey.
How to put live chat on your website
Adding our live chat software couldn’t be simpler. We have detailed setup guides to help you put live chat on your website, helping you add live chat to an HTML, CMS or Ecommerce website.
In our detailed setup tutorial, you can follow step-by-step to help you add the Experience software to your website and begin using live chat features.
Customising your online chat software for your website
One of the biggest benefits of using Click4Assitance is that you can customise your live chat for your business. Not only do you get to make sure your chat tool is on-brand, but you can customise its various features to help create your preferred live chat experience.
In our Basic customisation guide, you’ll learn more about the different features of Experience and how to tailor them to your website.
Meanwhile, our Advanced customisation guide provides more detailed guidance on how to configure your chat’s appearance within the CSS styling of your website.
How to add new users
To get started with live chat, you’re going to need some users. Our handy tutorial shows you how to add new users and configure their settings ready to start using your live chat software.
How to add user types
Click4Assistance’s live chat software enables you to create different user types. These user types contain different modules, permissions, security settings and alerts to enable you to give users what they need to carry out their roles. It’s easy to make changes and ensure your visitors have the right access for their needs.
How to understand routing groups
Click4Assitance’s Experience live chat software allows you to tailor your communications into different routing groups, providing flexibility and the ability to assign chats to multiple departments or a contact centre. Different web pages may require different routing functions to help provide your customers with what they need. Our simple video explains what routing groups are and how to make the most of them.
How to add Predefined replies
Predefined Replies can help your business save time and enables them to answer common questions easily. Our Predefined Replies tutorial will show you how to configure your Predefined replies ready to store in your library for use by your agents.
How to add end categories
The Categories feature helps you categorise your chats to help you organise your chats and understand more about customer behaviours. Reason and Outcome will help you organise your chats in a way that makes sense for your business.
How to use auto navigation
Click4Assistance has an in-built auto navigation library which can help your agents’ direct customers to the right places, giving them the information they need to help improve their user experience. Auto navigation can also help your business improve its on-site navigation. Our simple setup tutorial tells you everything you need to know about auto navigation.
How to schedule reports
Monitoring your Click4Assistance activity can help you make improvements, check performance and learn more about the types of issues your customers are facing. There are multiple report types available in Experience, helping you gather the information that’s most relevant to you. This step-by-step guide provides information on how to schedule reports so that they are generated automatically for easy live chat monitoring.
Start your Click4Assitance journey today
At Click4Assitance, we provide a complete live chat solution that can transform the way your business communicates with its customers. To start your Click4Assistance journey, sign up for a free trial or request a demo from one of the team.
