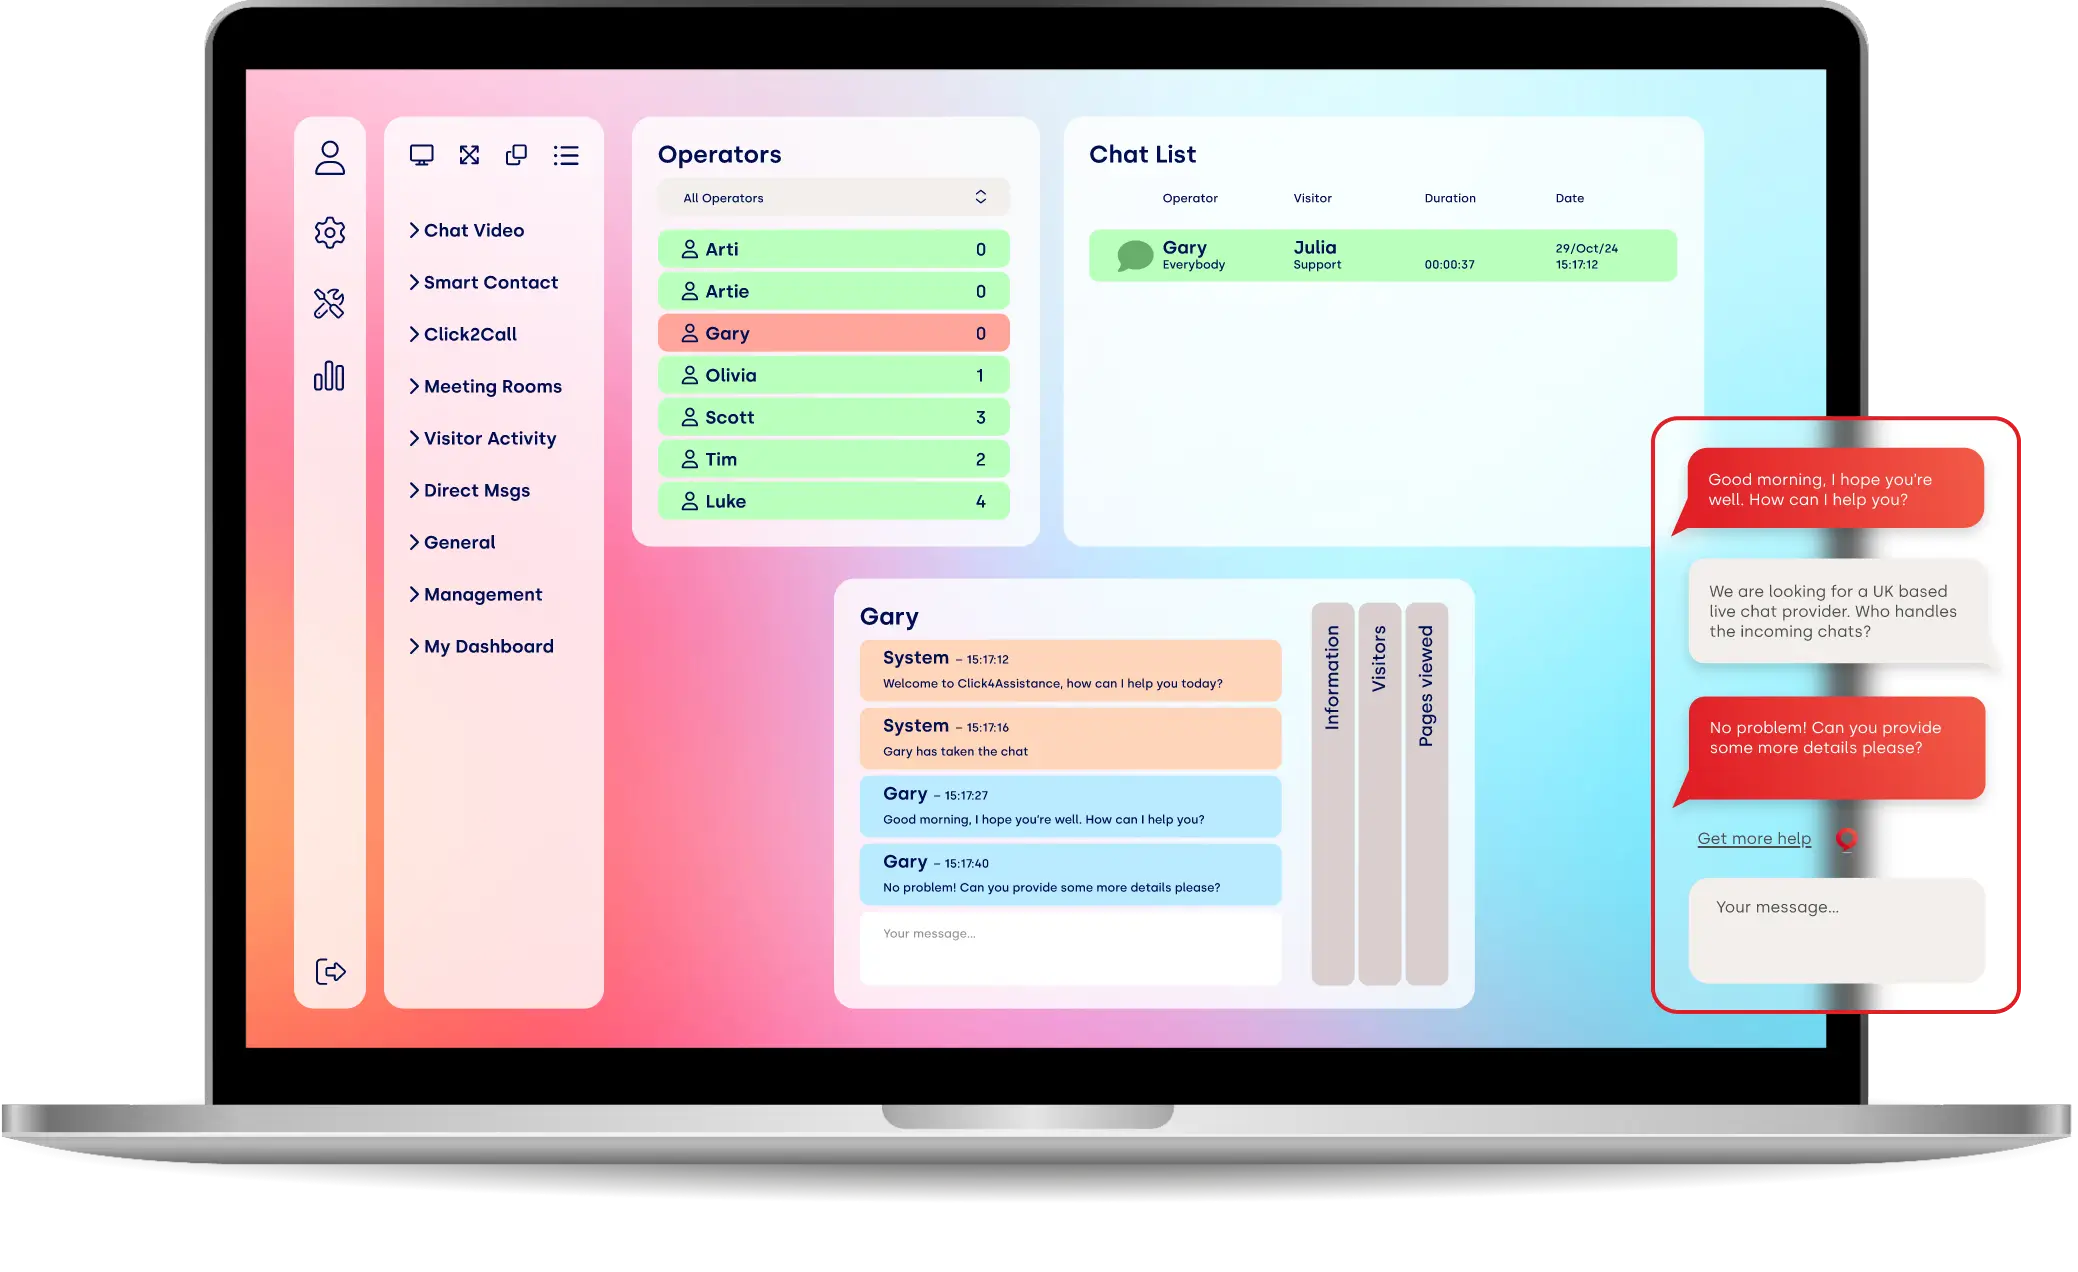
How to use Prospects
Prospects is a contact tool that assigns contact information to website visitors, allowing reps to identify and speak to them in real-time.
Prospects is a contact tool that lets you assign contact information to website visitors to identify those who are likely to convert. The solution automatically recognises visitors, generates profiles and tracks their behaviour, letting you determine whether they are likely to buy. It also categorises prospects into various groups, depending on their conversion information.
With Prospects, you can store a vast array of user details, including their name, title, email address, customer ID, company name, the type of lead they are (either new or existing), phone number and miscellaneous information. You can then assign a representative to engage with them directly or leave them to continue browsing your website at their leisure.
The purpose of the Prospects tool is to ensure that you take advantage of all conversion opportunities on your website. Once you have sufficient prospect information, you can decide whether to speak to a visitor directly or leave them alone, depending on where they are in the conversion funnel.
How to Use Prospects
To use Prospects, use Click4Assistance’s Live Chat solution to contact the customer in a normal manner. Collect all of the prospect's contact details to create a record at the end.
Assign a Prospect in Chat
To assign a prospect in chat:
- Open Click4Assistance Experience and go to Dashboard.
- Then click the Prospect icon in the Visitor panel
- Clicking this will bring up the Prospect (Visitor) information panel. Here you can enter their title and name, email, customer ID if you have one, company name (for instance, if they represent a B2B business), the type of customer, and their phone number. There is also an additional field where you can enter other information of your choosing, such as when a customer first contacted you, or specific information about their case.
- Click Save & Assign
If you have a lot of customers or multiple operators, you may not know if this is your first time communicating with a particular customer. Therefore, Click4Assistance Prospects offers a helpful Search panel.
To check:
- Click Search in the Prospect (Visitor) window
- Type the name of the prospect into the search bar and click the Search button
The Prospects tool will then list all of the people with that name in a table below, providing them with all the relevant details. Reps can then check the new customer against their existing database, avoiding the need to take details a second time.
In some cases, customers will have similar names or the same name. Reps must then use other information, such as their email address or customer ID to determine whether they are the same customer or not. For instance, firms might have multiple customers with the last name “Smith.”
If the customer is new, reps can then go on to create a new prospect. When filling out the prospect window, the only required information is either the customer’s email address or a unique customer ID.
Assign a Prospect to a Visitor if They Don’t Start a Chat
Click4Assistance Prospects let you assign a prospect to a visitor, even if they don’t start a chat.
To do this:
- Navigate to Dashboard >> Visitor Activity >> Real-time
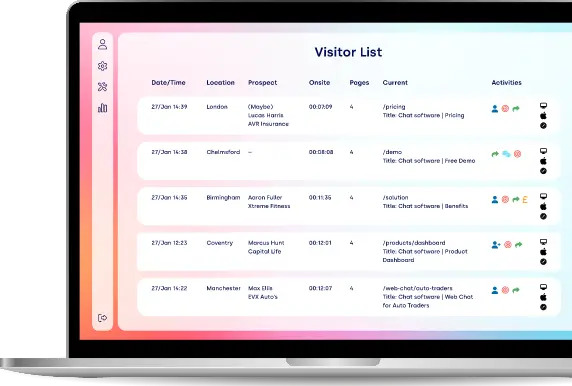
- View the visitor activity panel and see the list of visitors currently on your website
- Click the Prospect button at the top and search for the prospect in the Prospect (Visitor) window via the Search tab
- Once you find the visitor, click their record in the table to auto-fill their information into the prospect form in the Prospect window.
- Click Save & Assign
Once Click4Assistance saves the prospect to memory, you’ll receive an alert each time they visit your site in the bottom right-hand corner of the Experiences dashboard. The alert will make an audible noise telling you that it's detected a prospect and then instruct you to navigate to Visitor Activity to view prospect details. If they begin a chat via web Live Chat software, operators can immediately see their details in the Chat List window.
View Your Full List Of Prospects
Many firms collect hundreds, sometimes thousands of prospects. Therefore, Click4Assistance lets you view the full list of prospects in a single location, showing you when you created them, who in your organisation made them, and their email.
To do this navigate to Tools >> Visitor Activity >> Prospects and view the table.
Clicking an entry in the Prospect Activities will bring up the Prospect window. This displays further information about the prospect, including all the dates they visited your website, when they declined your prospect request, and when reps updated their details. You can also add prospects by clicking the + ADD NEW button, manually edit prospects, and delete them if you no longer require them or if you have duplicate entries.
If you do not want to enter prospect information manually, you can do so with the Prospects’ scripts function. To do this:
- Click the SCRIPT TO ADD PROSPECT button on the options bar above the prospect list on the Prospects page.
- Copy the script from the Click4Assistance View Script window to your website by clicking Copy in the bottom right corner.
This script will automatically create prospects by collecting information from users. Reps will then see contact details automatically in chat information windows.
Conclusion
Prospects is a useful feature that combines with Live Chat to track user behaviour and notify you if they return to your site. This way, you can communicate with them when they are most likely to convert, instead of letting them leave your site uncontacted.
The tool is also helpful for reps because it provides them with prospects’ contact details before conversations, negating the need to ask for them again, regardless of how many times they visit your site.
Manual prospect creation is not necessary, either. If you would prefer to use a script to automatically generate and send contact details to reps, copy and paste the script provided in Click4Assistance Experiences.
