Personalising Chat Inside and Out: Part 2
Last month we discussed that it’s important to customise your visitor facing aspects of chat for visitors to feel confident that they are speaking with your company rather than a third party. We also suggested the options your organisation should consider when designing your button(s) and windows.
In this part we will be taking a look at configuring your account, with user types for permission and access, grouping operators for effective chat routing and creating user profiles.
User Types
Users of the account will have different reasons why they are logged in, they may be configuring the account, handling customer enquiries or supervising the engagements that are occurring. For each reason, a user type can be created that defines their specific permissions, security settings and accessibility.
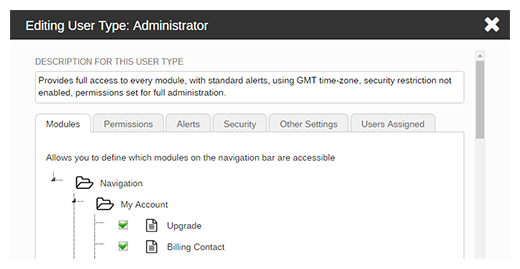
Customer service representatives tend to only have access to the dashboard where they can handle customer enquiries. Their permissions can be restricted further by selecting what they can and cannot do within this module. For example, they can only see chats assigned to their Routing Group (see below) and can only store the chats allocated to them. They may have a certain timeframe that they can log into the account between and may also be restricted to only logging in from an authorised IP address.
Whereas an admin will need access to every module so that they can configure and test. It is advisable that the option to be logged in as unavailable is selected, so they do not affect the status of the chat.
Routing Groups
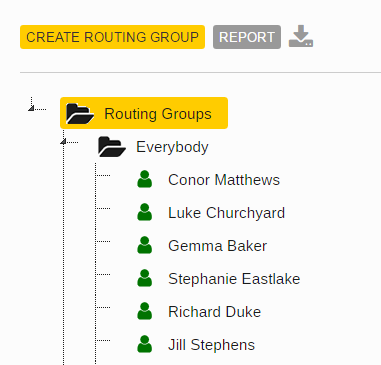
When handling multiple types of enquiries, various departments will have access to the solution, Routing Groups can be set up to reflect these departments and helps direct chats to the correct team.
Buttons on the website can be assigned to automatically route to a specific group or the visitor can select which department to speak with on the pre-chat form.
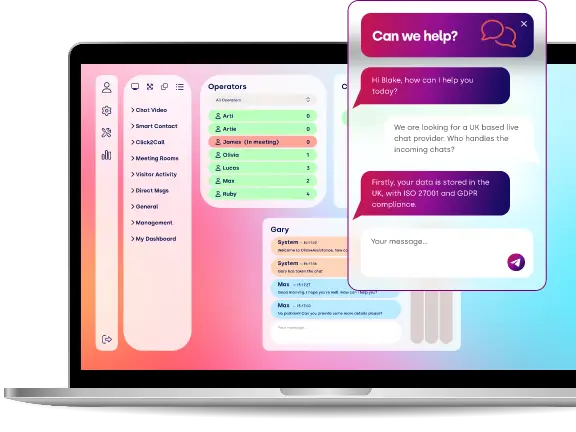
Internally, if an operator needs to transfer a chat, they may not necessarily know all of their colleagues and their roles, therefore when transferring or inviting an operator into chat, a list of departments will be presented with all the available users displayed.
User Profiles
Each user will have their own profile with unique login credentials (email address and password or AD Integration). This ensures that they have the right settings and can be accountable for the actions they take within the solution. It’s important to keep these updated to ensure only members of staff who currently work at the organisations can access the software and associated data.
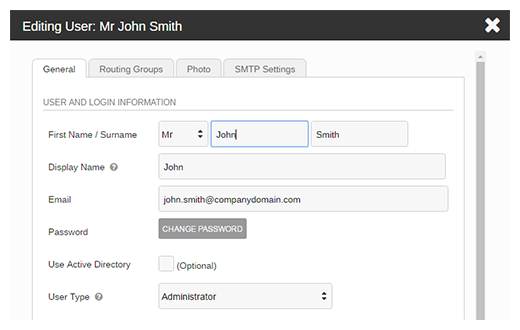
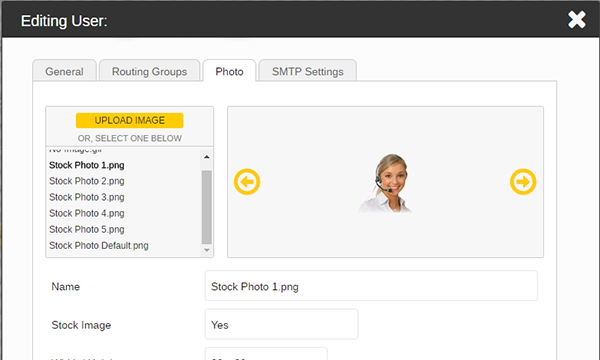
As well as assigning them to a Type and Routing Group(s) a photo can be uploaded, this personalises the chat as the visitor can see what the representative looks like, relating a face to the text based messages.
SMTP settings can also be configured so that operators can send emails whilst in chat. When an email is sent out from the system it is vital to personalise them to your brand so there is no confusion regarding who the email is from. This can be configured in Email Templates.
Configuring your account regularly ensures that only users who should have access to the software have the correct permissions and settings. Keeping your account up to date secures that there is no risk of security breaches, and reduces any chance of mistakes occurring during a live chat (e.g. an operator handles a chat meant for another department). For further help configuring your chat box for website account check out our help system within the software or contact our team on 01268 524628.
Next month we will be sharing our final instalment of this series, exploring how and why your administrators should configure your account to improve efficiency for your operators. Keep your eyes peeled for Personalising Chat Inside and Out: Part 3.

